How To: Air-filled Balloon Pumpkin
Last Updated: September 02, 2025|
How To: Tutorials Seasonal Items,
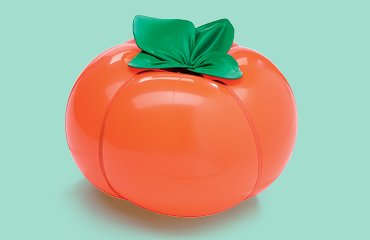
Fall has arrived, and people are celebrating the most colorful time of year with fresh new Autumn decorations and pumpkin spice everything! Add a playful touch to your décor with a whimsical balloon pumpkin. With just a few supplies, you can create a sculpture that is sure to wow guests this Thanksgiving. We have chosen to create a traditional orange and green pumpkin, but this design is easily customizable to match your customers’ style. Imagine the possibilities as you create pumpkins in Fall 2020’s hottest on-trend shades of soft buttercream and soothing sage green or create an explosion of color with pumpkins in bright pinks, purples, and blues. The only limits are the reaches of your imagination. Thanksgiving gatherings may look a little different this year, but inspiring Fall décor can bring smiles to guests both in person and virtually.
To create this whimsical air-filled balloon pumpkin, you will need the following products:
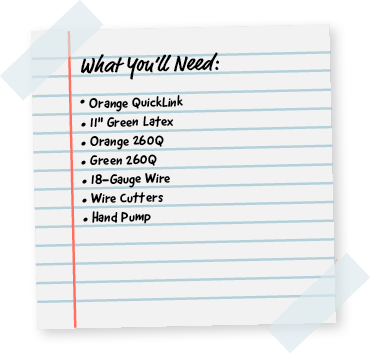
Purchase everything you need here.
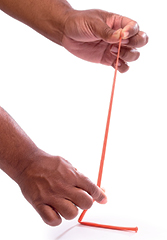
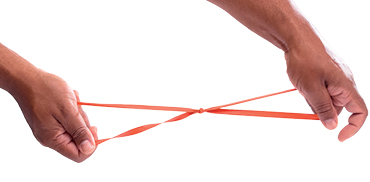
Step 1: Start by removing the air from two 260Q balloons and tying them together in the middle to make an “x” shape.

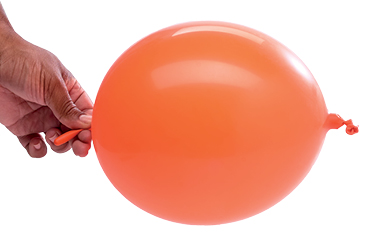
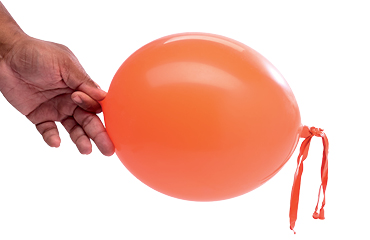
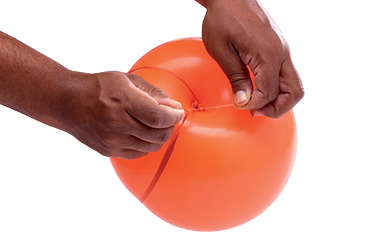
Step 2: Inflate an orange QuickLink balloon with air using the hand pump, leaving the balloon slightly soft and underinflated. Tie the balloon at the very end of the balloon neck, leaving the neck stretchy.
Step 3: Tie the 260Q “x” to the knot of the QuickLink balloon.
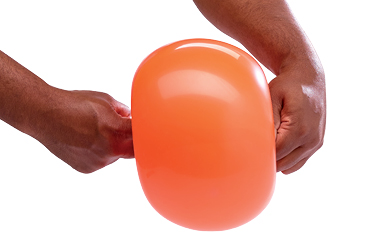
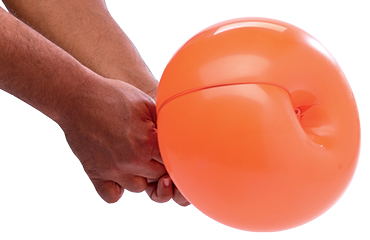
Step 4: Using the apple twist technique, push the neck of the balloon through the middle of the Q-link and twist until the shape resembles an apple. Tie with the Q-link connector on the other side of the balloon.
Step 5: To create a pumpkin shape, stretch each of the four 260Q pieces around the inflated balloon, securing each one with the QuickLink attachment at the top.

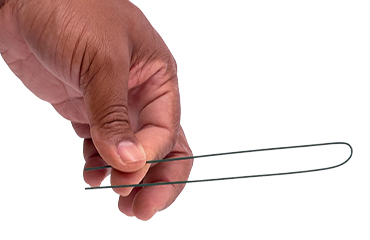
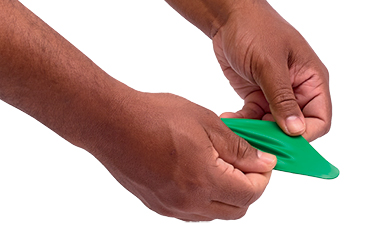
Step 6: To create the illusion of leaves, start by softly bending a piece of 18-gauge wire in a half.
Step 7: Carefully insert the bended wire inside of a green 11” latex balloon, pulling it snuggly to the bottom and securing with a knot.
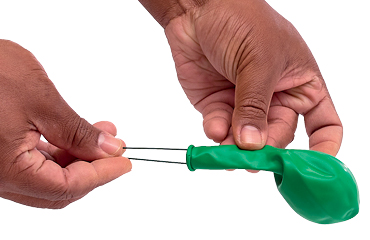
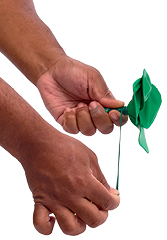
Step 8: Manipulate the wire inside of the balloon by gently pulling it apart so it resembles a leaf and the balloon is taut. Repeat this step several times.
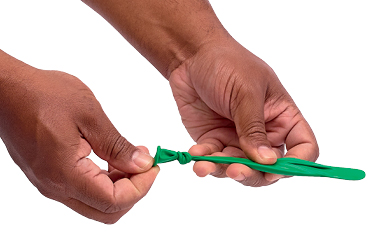
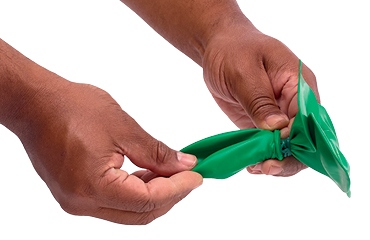
Step 9: Gather the balloon leaves together and secure the stems with a green 260Q balloon. Hide the mechanics by inserting the stems into a green 11” balloon.
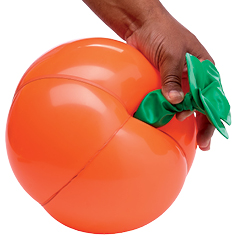
Step 10: Carefully insert the covered stems into the top of the balloon pumpkin.
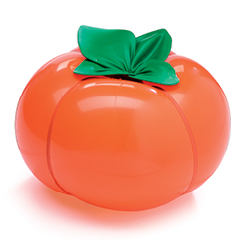
We want to see your creations! Post a picture of your air-filled balloon pumpkin on Instagram and tag us @burtonplusburton for a chance to be featured!
Share: